
This takes about 5-7 minutes.
In this article, we will show you 4 simple steps to get to your first signup:
- Verifying your sending email address.
- Creating a list.
- Writing your Confirmation and Welcome email templates.
- Copy and paste the signup code on your website.
Alternatively, you can use our step-by-step wizard to get your first signup.
1. Verifying your sending email address.
Segmail uses AWS Simple Email Service to send out your emails, but you do not need to have an AWS account to send emails with Segmail – you just need to verify your sending address and you can start sending.
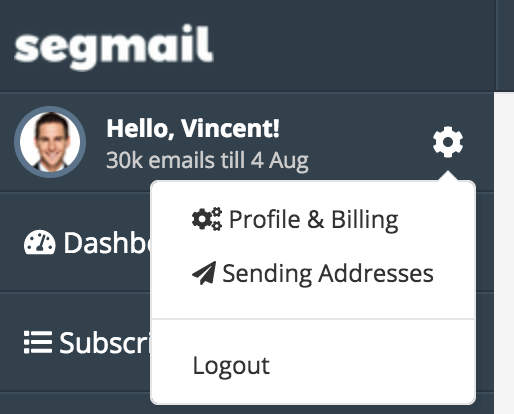
First, go to Profile & Billing under the gear icon beside your name on the sidebar:
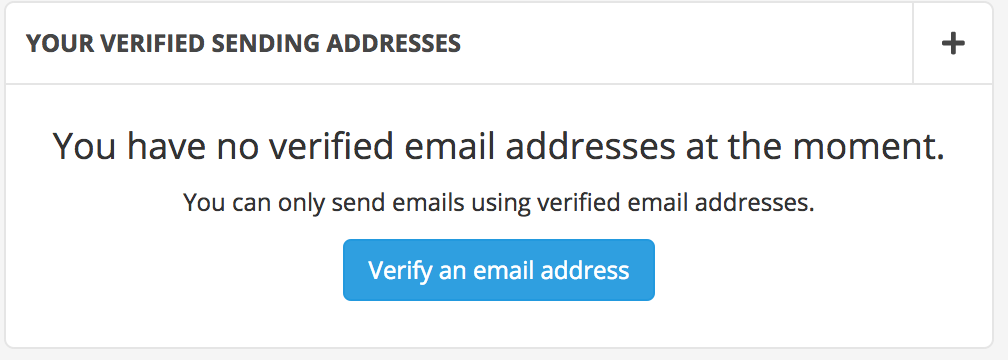
Under “Your Verified Sending Addresses”, click the “+” plus button next to the header or “Verify an email address”, if you have not verified any address yet.
Enter your email address and click Verify. If your email address is an alias, you’ll need to register the original email address, as bounces and complaints would always go back to the original address. If you don’t register the original address, then we’ll not be able to track your bounces. If you tick “This is an alias” and your original email, we’ll simply register both email addresses, but you’ll need to verify both.
After you have clicked verify, you will receive an email from Amazon Web Service <no-reply-aws@amazon.com> titled Amazon Web Services – Email Address Verification Request in region US West (Oregon) sent to the email address you have provided. Click on the link in the email and you will be able to start sending on your email address.
2. Creating a list.
Go to Subscription Lists on the left hand side menu.
Click on the “Create my first list” button, or the plus sign button beside “Your Lists” header.
You will come to the list setting page:

There are a few important settings here:
- Sender Email – you will need to choose a verified email from step 1. This sending address will be used for Autoresponders and Transactional Emails. You can choose a different one for Campaign emails, as you would sometimes send to more than 1 list in a campaign.
- Sender Name – if you don’t set this, it will be defaulted to your sending email. However, it is advisable to set this so that your subscriber would see and recognize you from the FROM field in their inbox.
Once you are done, click on the Save button.
3. Writing your Confirmation and Welcome email templates.
While we still don’t have an customizable Email sequence or Autoresponder feature like most other providers, we do send out 2 automatic emails:
- Confirmation – after your subscriber clicks “Subscribe”
- Welcome – after your subscriber clicks “Confirm
In the List settings page, click on the Autoresponders tab and you will come to the page:
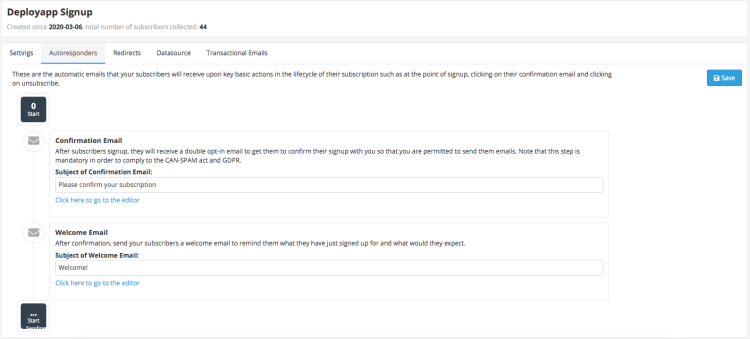
In here you set the subject title of your Confirm and Welcome email. Then you click on “Click here to go to the editor” link under each subject and you will be redirected to our inline editor:
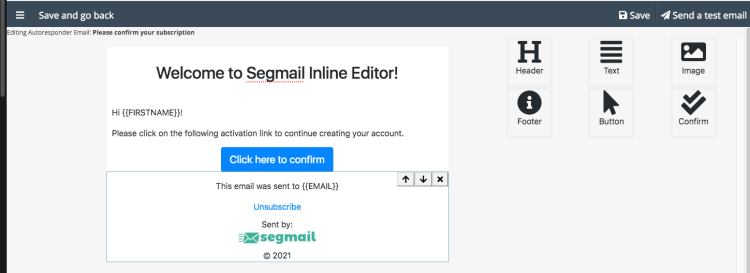
Once you are done with the email content, you can click “Send a test email” to send a copy to yourself for preview. To return to the List settings page, click “Save and go back”.
Copy and paste the signup code on your website.
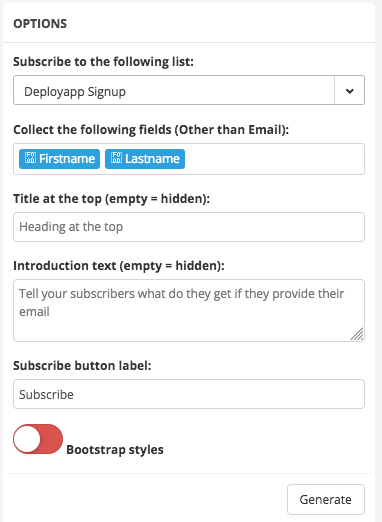
On the left menu, click on Signup Codes. Here you can generate a HTML code for your website by setting the fields you want to collect from your subscriber. By default only 3 fields are created for you – Email, Firstname and Lastname. You can add more custom fields by going to Custom Fields.
You can also customize the title of the form and the button:
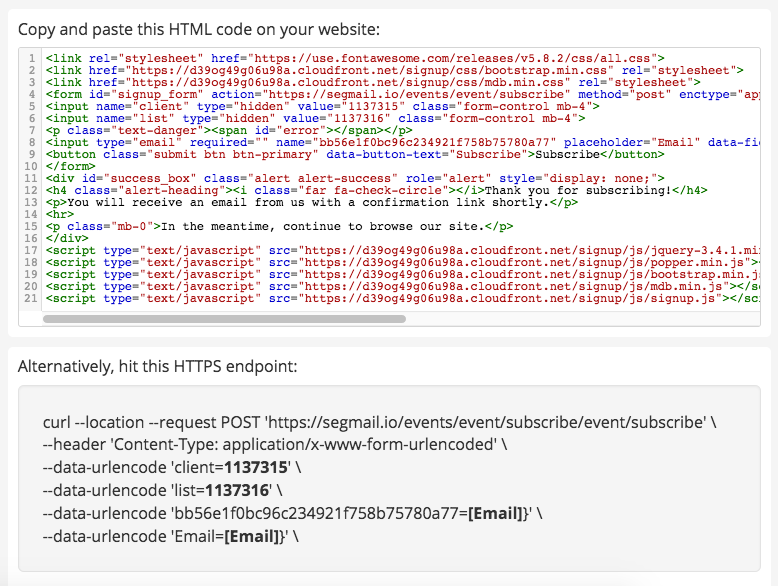
If you want to use your own HTML code, you can integrate with Segmail through a HTTP POST call – a CURL example is generated below the HTML code.
Your content goes here. Edit or remove this text inline or in the module Content settings. You can also style every aspect of this content in the module Design settings and even apply custom CSS to this text in the module Advanced settings.
Ok you are done!
If you already have an existing emailing list, you can either:
- Upload it using our uploader.
- Create a Data-Sync and set up a datasource for Segmail to do a frequent sync-up.
If you need help to set up Segmail for your website/apps, feel free to reach out to us by the chat widget at the bottom right of your dashboard, or leave a comment.